本文共 7551 字,大约阅读时间需要 25 分钟。
前言
清风文学网 www.198200.com前面我们了解了Spring MVC的基本使用,其实和.NET或.NET Core MVC无异,只是语法不同而已罢了,本节我们将和和数据库打交道,从最基础的JDBC讲解起,文中若有错误之处,还望指正。
JDBC Demo
我们需要下载三个包:JDBC驱动包(mysql-connector-java)、spring boot启用jdbc(spring-boot-starter-jdbc)、对数据进行序列化的json包(jackson-databind),如下:
mysql mysql-connector-java org.springframework.boot spring-boot-starter-jdbc com.fasterxml.jackson.core jackson-databind
接下来我们在配置文件中,通过JDBC连接MySQL数据库,如下:
spring.datasource.url = jdbc:mysql://localhost:3306/user?serverTimezone=UTCspring.datasource.username = rootspring.datasource.password = root
这里需要注意的是:对于不同的JDBC驱动版本,可能会抛出如下错误,这是由于在JDBC指定版本中存在的bug,所以要么如上显式指定serverTimezone,要么添加JDBC版本
The server time zone value '�й���ʱ��' is unrecognized or represents more than one time zone. You must configure either the server or JDBC driver (via the serverTimezone configuration property) to use a more specifc time zone value if you want to utilize time zone support
接下来我们定义对用户进行增、删、改、查的接口,如下:
public interface UserRepository { int save(User user); int update(User user); int deleteById(int id); List findAll();} 接下来我们再来看用户类,我们将对提交用户信息通过注解进行校验,同时我们对之前添加的爱好的数据类型为数组序列化为JSON后存到MySQL数据库,如下:
public class User { private ObjectMapper objectMapper = new ObjectMapper(); public User() { } public User(int userId, String firstName, String lastName, String gender, String email, String userName, String password, String country, String favoritesJson) throws JsonProcessingException { this.userId = userId; this.firstName = firstName; this.lastName = lastName; this.gender = gender; this.email = email; this.userName = userName; this.password = password; this.country = country; this.favorites = objectMapper.readValue(favoritesJson, new TypeReference () { }); } private int userId; @NotNull(message = "名字必填") private String firstName; @NotNull(message = "姓氏必填") private String lastName; @NotNull(message = "性别必填") private String gender; @NotNull(message = "邮箱必填") @Email(message = "请输入有效的邮箱") private String email; @NotNull(message = "用户名必填") private String userName; @NotNull(message = "密码必填") private String password; private String country; public int getUserId() { return userId; } public String getFavoritesJson() { String favoritesJson = null; try { favoritesJson = objectMapper.writeValueAsString(this.favorites); } catch (JsonProcessingException ex) { } return favoritesJson; } public void setUserId(int userId) { this.userId = userId; } private String[] favorites; public String[] getFavorites() { return favorites; } public void setFavorites(String[] favorites) { this.favorites = favorites; } public String getCountry() { return country; } public void setCountry(String country) { this.country = country; } public String getFirstName() { return firstName; } public void setFirstName(String firstName) { this.firstName = firstName; } public String getLastName() { return lastName; } public String getGender() { return gender; } public void setGender(String gender) { this.gender = gender; } public void setLastName(String lastName) { this.lastName = lastName; } public String getEmail() { return email; } public void setEmail(String email) { this.email = email; } public String getUserName() { return userName; } public void setUserName(String userName) { this.userName = userName; } public String getPassword() { return password; } public void setPassword(String password) { this.password = password; }} 最后则是实现上述用户接口,这里我们使用JDBC中的参数化类(避免SQL注入)进行增删改查,如下:
@Repositorypublic class NamedParameterJdbcUserRepository implements UserRepository { @Autowired public NamedParameterJdbcTemplate namedParameterJdbcTemplate; @Override public int save(User user) { MapSqlParameterSource mapSqlParameterSource = new MapSqlParameterSource(); mapSqlParameterSource.addValue("userName",user.getUserName()); mapSqlParameterSource.addValue("password",user.getPassword()); mapSqlParameterSource.addValue("firstName",user.getFirstName()); mapSqlParameterSource.addValue("lastName",user.getLastName()); mapSqlParameterSource.addValue("gender",user.getGender()); mapSqlParameterSource.addValue("email",user.getEmail()); mapSqlParameterSource.addValue("country",user.getCountry()); mapSqlParameterSource.addValue("favorites",user.getFavoritesJson()); return namedParameterJdbcTemplate.update( "insert into users (userName, password,firstName,lastName,gender,email,country,favorites)" + " values(:userName,:password,:firstName,:lastName,:gender,:email,:country,:favorites)", mapSqlParameterSource); } @Override public int update(User user) { return 0; } @Override public int deleteById(int id) { MapSqlParameterSource mapSqlParameterSource = new MapSqlParameterSource(); mapSqlParameterSource.addValue("userId", id); return namedParameterJdbcTemplate.update("delete from users where userId = :userId", mapSqlParameterSource); } @Override public List findAll() { return namedParameterJdbcTemplate.query( "select * from users", (rs, rowNum) -> { try { return new User( rs.getInt("userId"), rs.getString("firstName"), rs.getString("lastName"), rs.getString("gender"), rs.getString("email"), rs.getString("userName"), rs.getString("password"), rs.getString("country"), rs.getString("favorites") ); } catch (JsonProcessingException e) { e.printStackTrace(); return null; } }); }} 然后在进行提交用户时,在上一节内容基础上进行改造,添加校验注解,若有错误则返回,否则提交成功后则跳转到用户列表,如下:
@RequestMapping(value = "/user", method = RequestMethod.POST) public String user(@Valid @ModelAttribute("user") User user, BindingResult bindingResult) { if (bindingResult.hasErrors()) { return "user"; } else { jdbcUserRepository.save(user); return "users"; } } 这里需要注意的是:对于空字符串即使添加了校验注解后依然会忽略,所以我们还需要初始化绑定器注解去除空字符串并对其进行校验,如下:
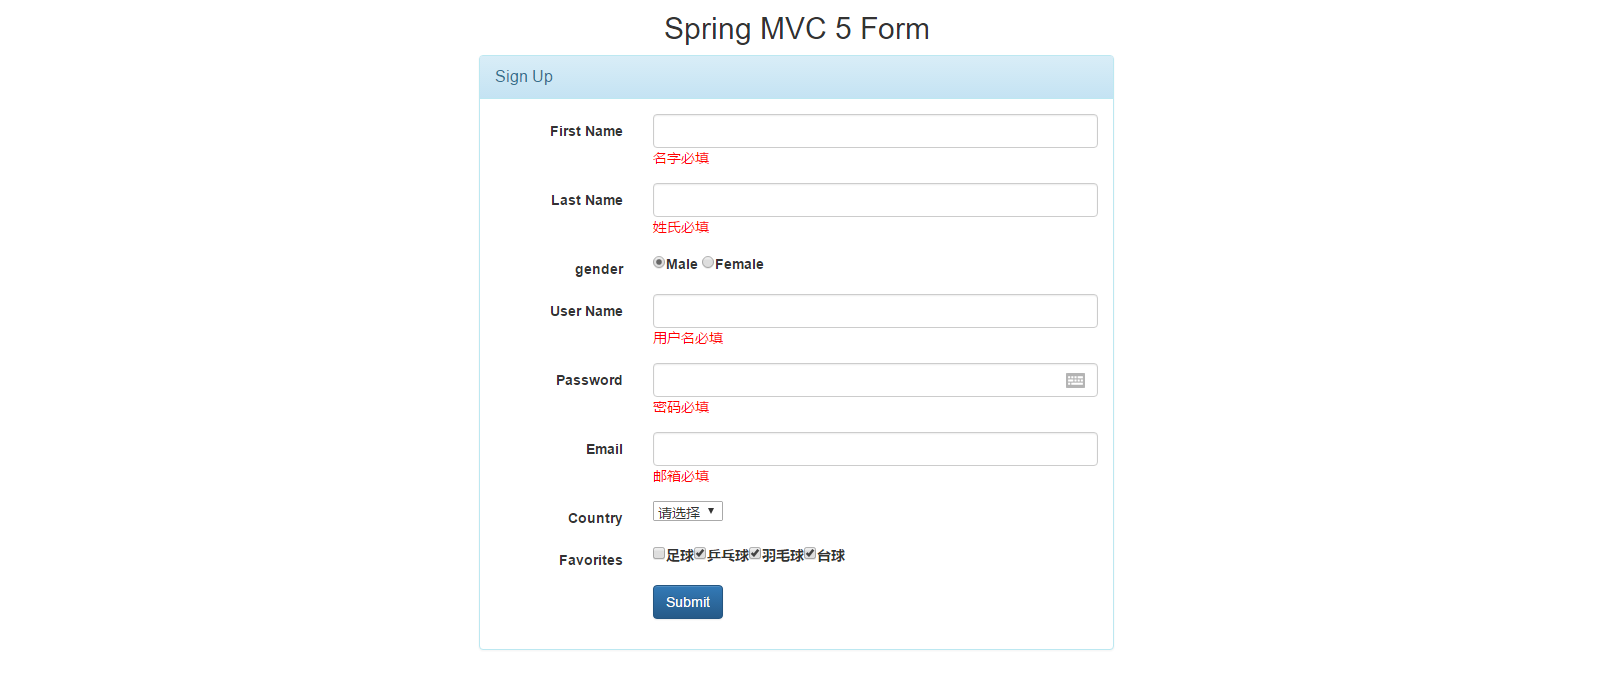
@InitBinder public void initBinder(WebDataBinder dataBinder) { StringTrimmerEditor stringTrimmerEditor = new StringTrimmerEditor(true); dataBinder.registerCustomEditor(String.class, stringTrimmerEditor); } 表单提交我们使用的是spring提供给我们的库,渲染用户列表,我们则是通过脚本并利用bootstrap-table实现,最终界面所呈现出的效果,如下:

总结
如上只是给出了部分重要代码,这里我已经将本节通过JDBC进行增删改查代码上传到github(https://github.com/wangpengxpy/SpringBoot),切换分支即可,后续会将每一块内容分别创建一个分支,以便供我复习和有需要的童鞋使用,本节我们到此结束,我们下节见。
转载地址:http://lbaii.baihongyu.com/